Mobile Workshop Cart with Modular System
Build a practical rolling workshop cart with interchangeable modules, USB charging, and smart organization system. Complete step-by-step guide.

Transform Your Home Into a Smart Paradise - 2025 Guide
Discover the latest smart home technology that will revolutionize your daily routine.
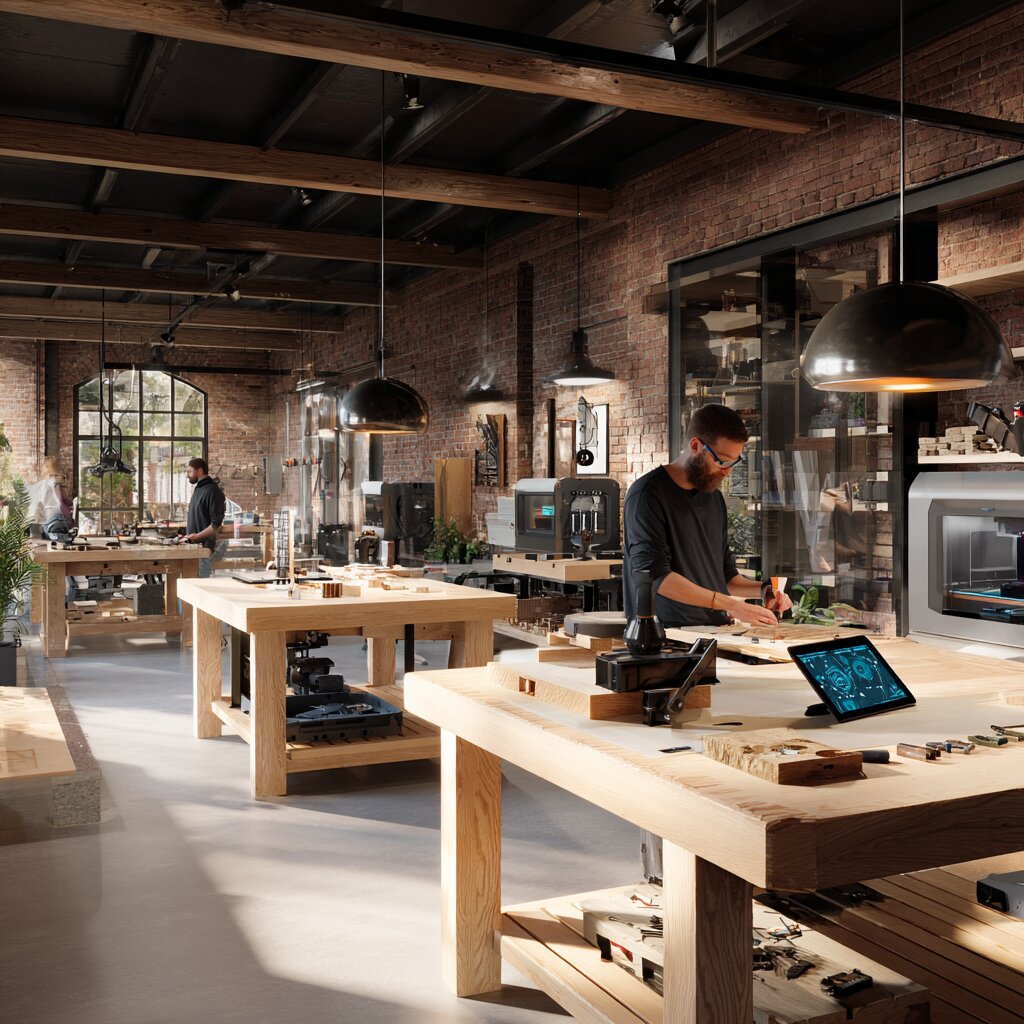
Every DIY enthusiast knows how important it is to have tools within reach. A mobile workshop cart with a modular system is a solution that allows you to have everything you need in one place, and you can customize it to current needs.
What You'll Need
Materials:
- 3/4" plywood (2 sheets 32"x24")
- 1/2" plywood (1 sheet 24"x16")
- Casters 4pcs (2 with brakes, 3" diameter)
- Aluminum L-profiles 3/4"x3/4" (20 feet)
- 20,000 mAh power bank with pass-through charging
- USB hub with switches
- Self-adhesive magnetic strips (16 feet)
- Screws, nuts, washers
Tools:
- Circular or miter saw
- Hammer drill
- 3D printer (optional)
- Screwdrivers
- Measuring tape, pencil, square
Estimated Cost: $100 - $140
Build Process
1. Basic Frame Preparation
Start by building the basic cart frame:
Cut from 3/4" plywood:
- Bottom plate: 24"x16"
- Side walls: 2x 24"x28"
- Back wall: 16"x28"
Assemble the basic box using screws and wood glue
Reinforce corners with aluminum L-profiles
Attach casters to corners of bottom plate
2. Modular System Installation
The key feature is the modular system that allows customization:
- T-track system: Install aluminum T-tracks on inner walls
- Quick-connect modules: Design modules that slide into tracks
- Magnetic mounting: Add magnetic strips for metal tools
3. Power System Integration
Add modern conveniences:
- Power bank mounting: Create dedicated compartment with ventilation
- USB hub installation: Mount accessible USB ports on the side
- Cable management: Route cables cleanly through drilled holes
- LED strip lighting: Optional work area illumination
4. Storage Modules
Create interchangeable storage solutions:
Module A: Small Parts Organizer
- Clear plastic containers in wooden frame
- Perfect for screws, bolts, washers
- Easy to see contents, quick access
Module B: Tool Holders
- Magnetic tool strips
- Custom 3D printed holders
- Foam cutouts for precision tools
Module C: Material Storage
- Vertical slots for sheet materials
- Holders for pipes, conduit, lumber
- Adjustable dividers
5. Work Surface Addition
Add a fold-out work surface:
- Hinged top: 12mm plywood with piano hinge
- Support arms: Fold-out brackets for stability
- Non-slip surface: Rubber mat or textured coating
- Integrated ruler: Measuring guides for quick sizing
Advanced Features
Smart Organization
- QR code system: Label modules with QR codes linking to inventory
- Color coding: Different colors for different tool categories
- Quick-release locks: Tool-free module swapping
Mobility Enhancements
- Handle design: Ergonomic push/pull handle
- Brake system: Foot-operated caster brakes
- Compact mode: Modules nest for transport
Power Features
- Wireless charging pad: For phones and small devices
- 12V outlet: For automotive tools
- Battery level indicator: LED display for power bank status
Customization Options
Size Variations
- Compact version: 20"x14" for small spaces
- Full-size: 36"x20" for comprehensive setup
- Specialized: Custom dimensions for specific trades
Material Upgrades
- Metal construction: Steel or aluminum frame
- Premium wood: Hardwood with oil finish
- Industrial grade: Heavy-duty components
Cost Breakdown
Basic Version: $100-140
- Plywood: $40-60
- Hardware: $30-40
- Casters: $20-30
- Electronics: $10-20
Premium Version: $200-300
- Hardwood: $80-120
- Quality casters: $40-60
- Advanced electronics: $50-80
- Metal components: $30-40
Build Tips
Precision Cuts
- Template making: Create cardboard templates first
- Clean edges: Sand all cuts smooth
- Test fit: Dry assemble before final gluing
Electrical Safety
- Proper insulation: Protect all connections
- Fusing: Include appropriate fuses
- Waterproofing: Seal electronic compartments
Finishing
- Multiple coats: Build durable finish with several thin coats
- Edge banding: Professional look on plywood edges
- Hardware upgrade: Quality hinges and locks
Usage and Maintenance
Daily Operation
- Module rotation: Change setups based on projects
- Charging routine: Keep power bank topped up
- Organization discipline: Return tools to designated spots
Maintenance Schedule
- Weekly: Check caster operation, clean surfaces
- Monthly: Tighten connections, inspect modules
- Seasonally: Deep clean, refresh magnetic strips
Expansion Ideas
Additional Modules
- Vacuum system: Built-in dust collection
- Air compressor: Small portable unit integration
- Soldering station: Electronics work module
- Paint station: Spray booth module
Workshop Integration
- Docking station: Fixed position with power/air connections
- Network storage: Shared inventory with other carts
- Tool check-out: System for tracking borrowed tools
Troubleshooting
Common Issues
- Caster problems: Usually dirt or hair buildup
- Power issues: Check connections and fuse
- Module fit: Adjust track alignment
- Weight distribution: Rebalance heavy items
Conclusion
This mobile workshop cart transforms how you organize and access tools. The modular system means it evolves with your needs, while modern features like USB charging keep you connected. Whether you're a weekend warrior or professional maker, this cart will boost your productivity and organization.
The initial investment pays off quickly through increased efficiency and the satisfaction of using a tool you built yourself. Start with the basic version and add features over time - that's the beauty of modular design!
Smart Home Upgrade Package 2025
Transform your home with the latest smart technology
Transform Your Home Into a Smart Paradise - 2025 Guide
Discover the latest smart home technology that will revolutionize your daily routine.